Showing posts with label DIY. Show all posts

Thursday, July 16, 2015

DIY Abstract Art

On Tuesday I shared with you some abstract art pieces from around the web. I remember being in 8th grade art class and hating it. I had no clue what I was doing. I think at one point we had to make something out of clay and mine looked like a big old blob. But then you see movies where a character paints for fun and it just looks so relaxing (The Notebook, anyone??).

I think because I don't feel very creative and also don't have many relaxing hobbies, I was on a mission to see if I had it in me to paint. After all, it's been a while since 8th grade! Plus art pieces are usually super expensive and wouldn't it be great to save some money?? Then that feeling of accomplishment would be fantastic... if it actually turned out decent.

I had a little luck on my side. My mom. She is a woman of many talents and one of those just happens to be painting. Now usually she does things like flowers but I really needed her expertise in showing me how to paint. Are there certain brushes you use? What techniques are best for what I want to accomplish? How do you mix multiple colors together and not make it look like a 3 year old did it?

So one afternoon I took my daughter over to my mom's and we all had some quality time painting. I really thought I could get this done in 30 minutes (jokes on me!) but it ended up taking 2 hours to complete.

Let's get this party started!

It all started off with wanting a fairly big canvas to paint on. I headed to Hobby Lobby and scored an amazing deal. I always check their clearance section and happened to find this flower picture for $12!


Did you know that you can paint over previous paintings on a canvas? So if you find a hideous picture on a canvas at a thrift store or somewhere else at an amazing low price, grab that baby up because you can reuse it. It's also great because after its been hanging up in your home for a month a year, you can take it down and start all over with a new idea.

I got out some plain white paint that I usually use for my walls or trim and went over the canvas one time. I probably should have done two coats just to be safe but I was too excited to get started.


I knew that I wanted blues in my picture. I am trying to incorporate different shades of blue around my home and so far don't I have any on the walls so this was a good place to start.

I actually used a mix of acrylic paint and paint I had leftover from painting my walls. It's a really neat way to use up some of that leftover paint you have from painting a bedroom or bathroom.
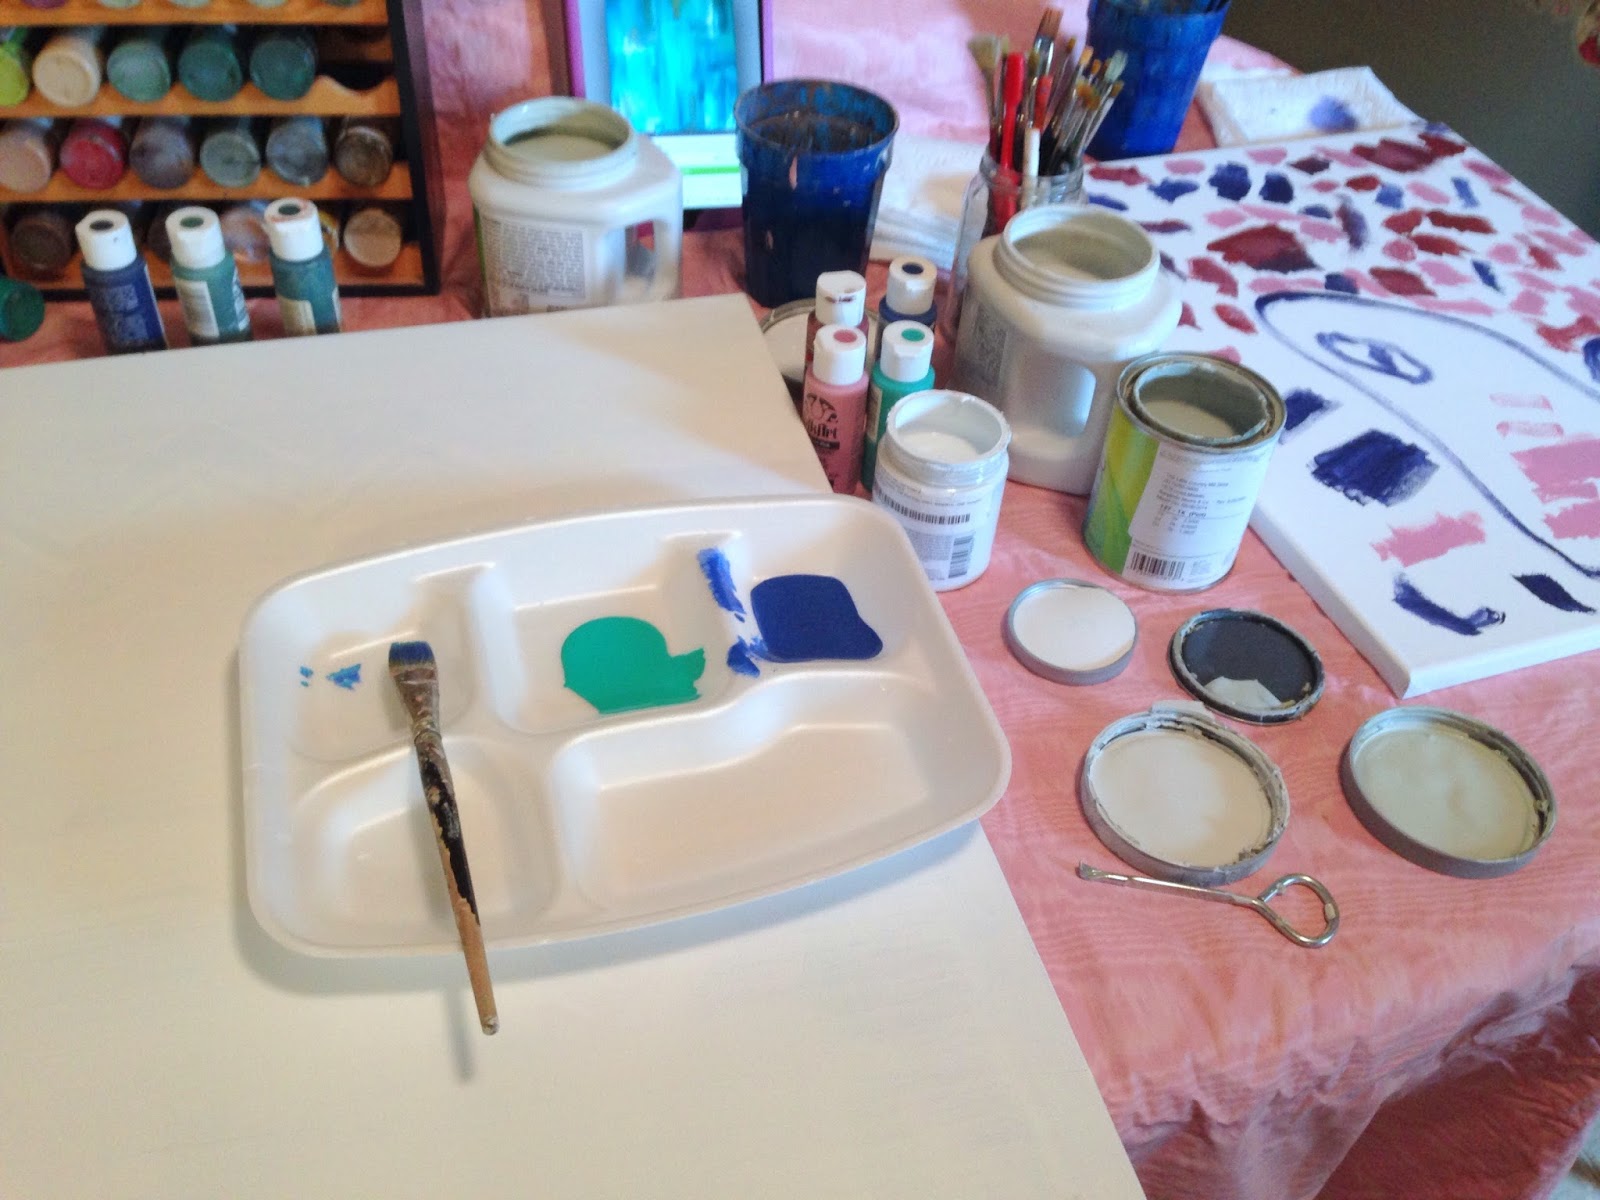


I used several sizes of brushes but the main reason was so that I didn't have to continuously clean them over and over. But for a piece this big I actually preferred the type of paintbrush you use to paint your walls. Nice and big.

I just started swiping on paint, doing one color at a time. The trick is to wet a big paintbrush (wipe off the excess water onto a paper towel) and quickly go over the color so it bleeds out a little. This creates a whispy effect so your lines aren't so harsh.


On occasion we took a blow dryer to the canvas to help a spot dry faster but it really wasn't necessary.

During this whole process I was questioning two things: 1. I wasn't sure if the turquoise color would really match the colors I had in my home. 2. The vision I had in my head had all of the lines in the painting going vertical instead of different directions. I decided I'd take home my piece of art and live with it on the wall for a week to see how I felt. But I was super proud of myself for finishing my first painting!


So after living with it for about 10 days, I decided it looked like a tie dye shirt... wah wah. I also really wanted the lines to be vertical. Luckily for me, Hobby Lobby is having a sale on paints this week so I started my own collection (I was using my mom's acrylic paints before). I grabbed up different shades of blues.
 
While my kid's were napping I set everything up and started working on recreating my piece.
 

You can see how the canvas is still wet from using the damp brush.


In reality I should of just painted the whole canvas white again because it took several coats to cover up the turquoise color but I am happy with how it turned out.


I ended up using 4 different colors in the new piece. I toyed around with adding some metallic silver or gold in the future but for now this is how it will stay... at least until I change my mind in a week. :)
 
This was really easy to create, just a bit time consuming. Remember that you can always start over if you don't like the end result. Keep your brushes a bit damp and it will give you the whispy effect.
 
Now it's your turn!


Tuesday, June 16, 2015

Gender Reveal: It's A....

We had our gender reveal party this past weekend. We were originally not going to find out because we have a boy and a girl so this little one would just be the tie breaker. :) But I loved doing reveals with our other two so I pretty much begged my husband to let us find out. Ok, I didn't really have to beg too hard. He was nice enough to let me have my fun and peace of mind.

I have seen balloon reveals for a while now and thought it would be really fun. We had to go get a huge dryer box from Lowe's (for free). It was missing a bottom so we used foam board and lots of duct tape. Which I totally forgot to take pictures of! Next was wrapping the box so it didn't look so ugly. I found this gold wrapping paper at WalMart.


We made this box about a week before our reveal party. Then on Friday we went and had a ultrasound done. We did not find out the gender at this time but had the ultrasound tech write it in an envelope for us.


The suspense was killing me! I could not sleep at all that night!

On Saturday we took the box and envelope to our local grocery store and they were kind enough to fill it with the right color of balloons. Half of the balloons were supposed to be on a weight so we could keep them to take pictures with. The other half were supposed to fly out of the box and into the sky. Well, someone did not put a weight on any of balloons so we lost all of them and our kids were super disappointed. :(

I also decorated the box with cut out hearts made out of black construction paper. Then I used chalk to write on the hearts.


My son loves that watering can and would not let it go so it will forever be a memory of this day.

And It's A....


BOY!!!!!


We are very excited to be welcoming another little boy to the family! Now to figure out a name...

Thursday, June 11, 2015

DIY: Floating Wood Shelves

I am super excited about this post! These shelves were in my head for a few months before I finally told my husband "we are building these NOW!" I had the perfect excuse, my son's birthday was in a week and I wanted these to be up before our family came over. That sounds reasonable, right?! He agreed and we went to work (ok, he did a lot of the work!).

The first step in this process was my inspiration picture. I shared it in this post with my mirror makeover but I'll share it again because it is lovely.


There's this awesome blog called Shanty 2 Chic that is run by two hard working, wood building women. I definitely can't take credit for the inspiration or design of these floating shelves. They have step by step instructions for this project here and I suggest you take a look at them if you want to do something similar.

I will show a few of our steps and some measurements we did a little differently.

It all started with a lot of measurements... (this was only the beginning)


And some blue painter's tape...


And more tape! I recommend doing this because it helps visualize where your shelves will be and if you want to change the height or length.


The process of measuring and figuring out where things should go took about 2 hours.

Then it was off to Lowe's to get our supplies. We spent about $80 and purchased:

* Brad Nails
* Drywall screws
* 2 types of sand paper (I ended up only using the 150 grit)
* Liquid Nails
* Stain (pictured below)
* 3/4 inch sheet of Birch Plywood (4X8)

You will also need 2x4s.
* 1- 8 foot (to do the main shelf)
* 2 - 3 footers to do the two smaller shelves
* 1 - 5 footer or less to make your E's

We already had all of the 2x4s at home but probably cost about $10.


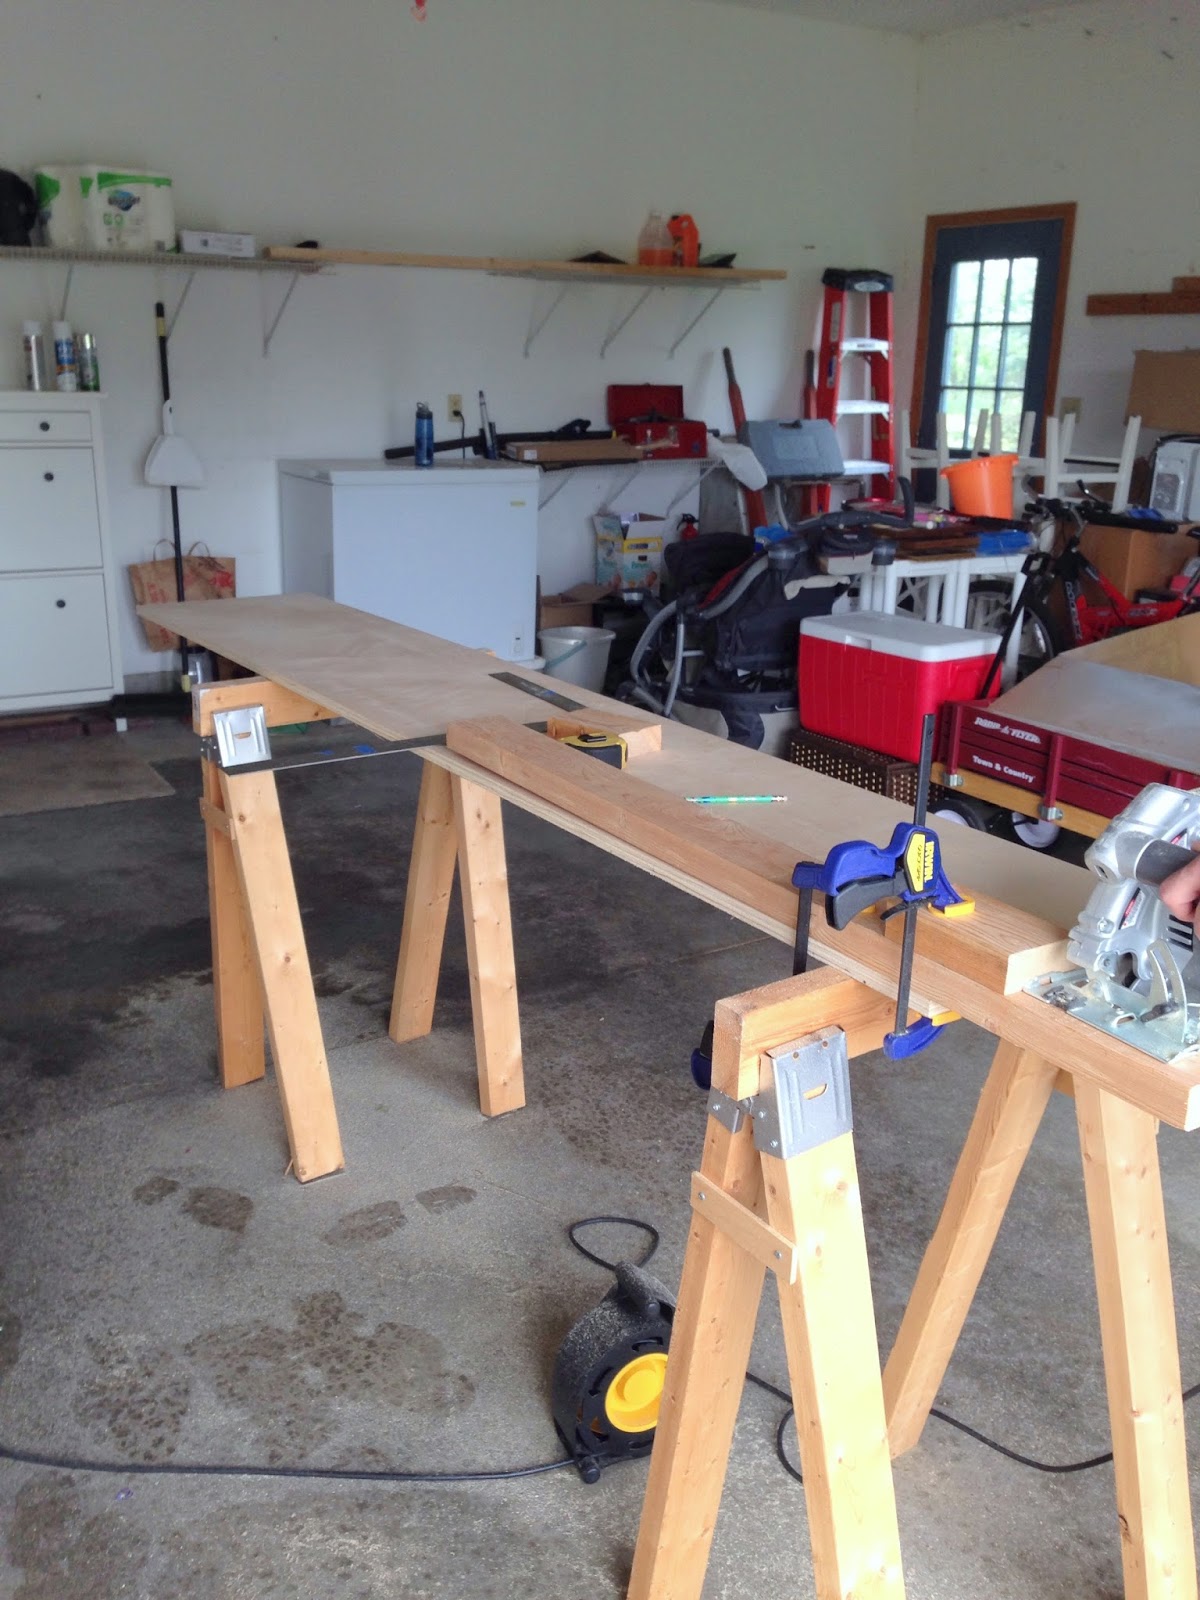
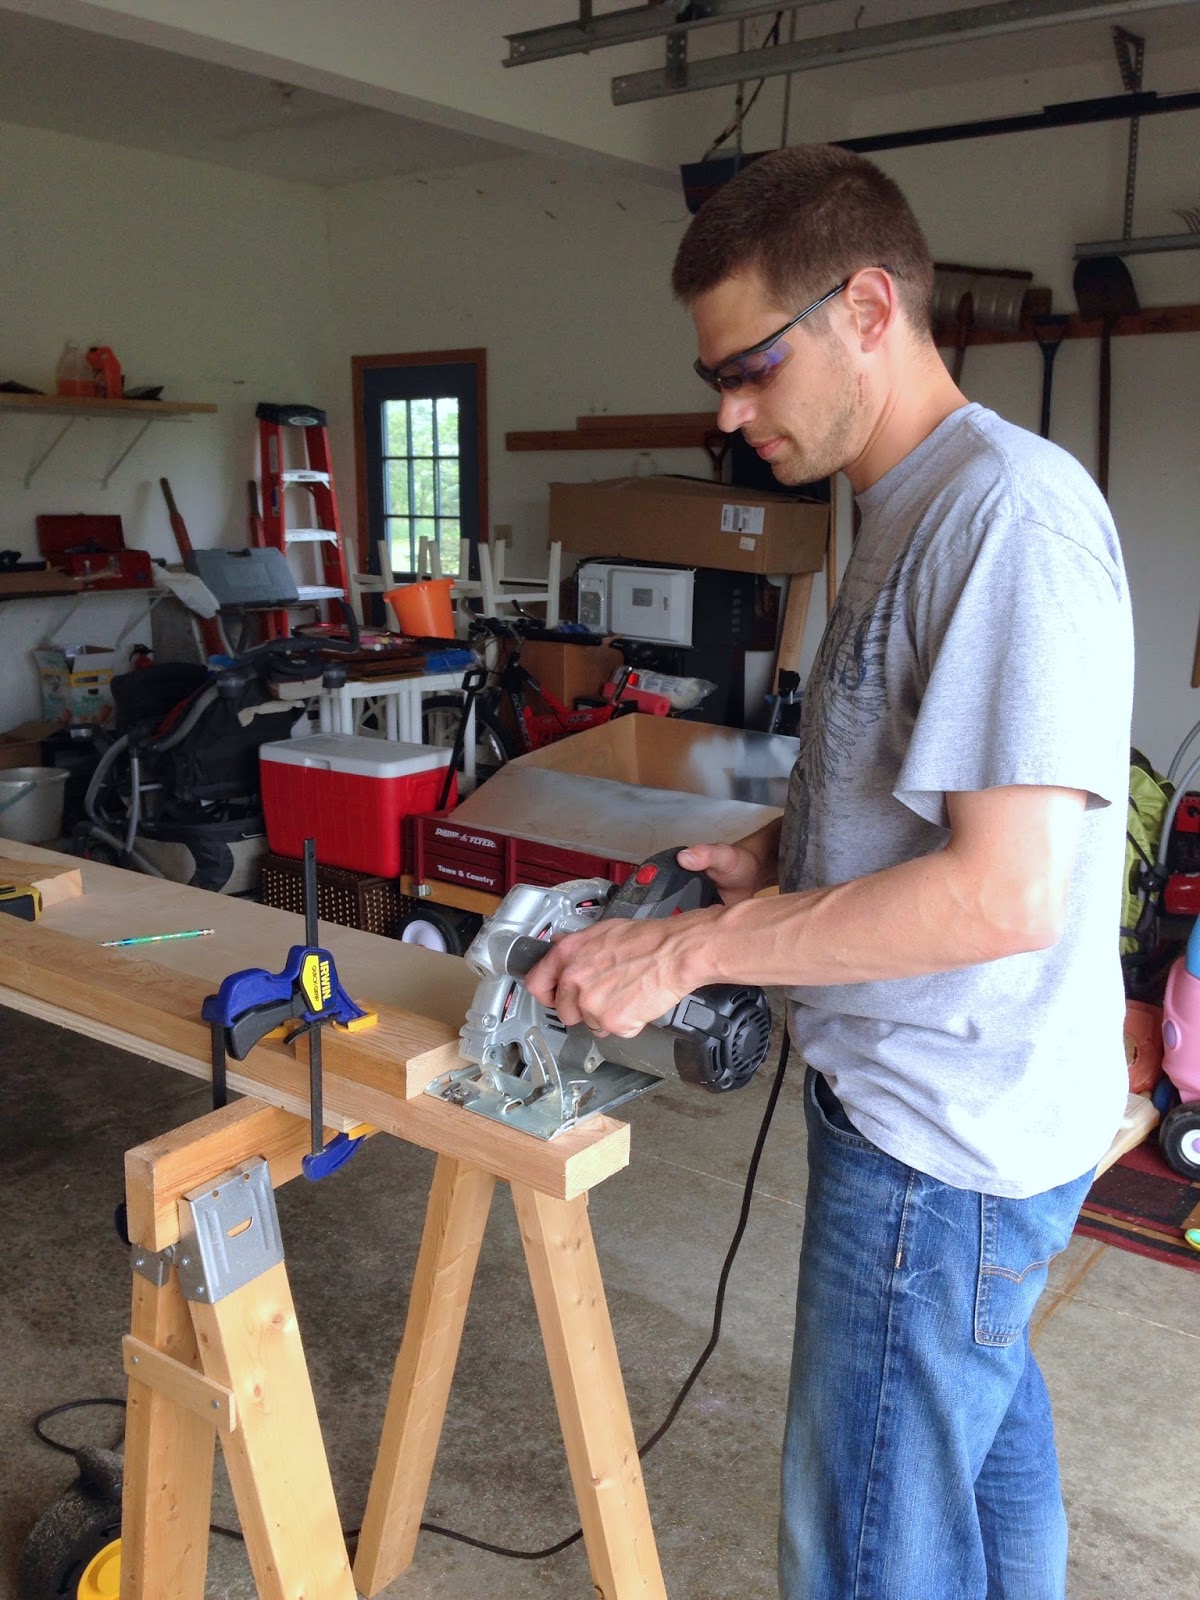
We set up shop in our garage. There was a lot of sawdust!


My husband really did a majority of the work, including measuring and re-measuring 50 billion times.


We have been collecting various tools over the years and this is the first project some of them were used so we were super excited. A table saw would have been the most effective tool for this project but we didn't have one at the time so we used a miter saw and a skil saw.


Our first piece was finally done! They call this an "E" in the blog directions.


My husband cut out all the pieces of wood and made sure everything fit perfectly before we started work inside. This definitely took the longest amount of time. I'm guessing about 10 hours. Once we could start work on the wall, the first step was to attach all of our "E's."


That level was our best friend! I think I have a sixth sense and can tell when a picture, shelf, cabinet, etc.. isn't straight. It drives me crazy if it's even slightly off.


Once all of the "E's" were up, it was time for the next step. We applied Liquid Nails to the insides of the boards.


We then used clamps to keep the boards in place while they dried. Most of them we kept there overnight.


Then secured them with a brad nailer. I got this for my husband probably nine months ago and this was the first time he used it. You can use screws instead but I wanted the smallest holes possible.


Now it's my turn to take over! I got this stain from Lowe's. Minwax in the color Special Walnut. I wanted a light color of stain because our couch is a dark gray and I didn't want the room to feel too gloomy. Although I was really questioning this color up until the second I put it on. This was my first time using stain so I wasn't sure what to expect.


I lightly sanded the wood with 150 grit sand paper and then put Frog Tape all around the edges.


I covered the floor with drop cloths just incase any stain were to fall.


I used one of my husband's old t-shirts and cut it up into several pieces. You can also apply stain with a brush but more often than not I've seen people use t-shirts. I also had clean t-shirts because you'll need to wipe off the excess stain soon after you put that first layer on. If you want a darker stain, leave it on longer before wiping off. I wiped it off right away because I wanted a light color and figured I could just do more coats if I really wanted it darker. Better to be safe than sorry I thought!


It went on really easy with the t-shirt.


I love how the grain in the wood shows through. It is beautiful. I only did one coat of stain and I love the way it turned out. I decided I could always add more layers of stain (to make it darker) down the road if I really wanted. I let the stain dry for 8 hours before I set anything on it.

The directions I followed did not say anything about a protective coat on top of the stain so I did not do one. However, I have heard that it may protect the wood in the long run to do a coat of poly on top. Completely up to you. I may do one down the road if I feel the wood is warping but for now I love the natural beauty of the wood.

Now it's time to decorate these shelves!! I used a lot of pieces I already had stored away in the basement. They were just waiting for these shelves, I know it! I am still in the process of decorating and one shelf actually still has nothing on it. I keep rearranging items when I find a new piece or decide to take something off. Hopefully soon they will be complete and I will put up a post about where I purchased these pieces.


I am still working on adding in some color because I really think it will make these shelves shine. These shelves bring in so much character and I am in love with them.