I think because I don't feel very creative and also don't have many relaxing hobbies, I was on a mission to see if I had it in me to paint. After all, it's been a while since 8th grade! Plus art pieces are usually super expensive and wouldn't it be great to save some money?? Then that feeling of accomplishment would be fantastic... if it actually turned out decent.
I had a little luck on my side. My mom. She is a woman of many talents and one of those just happens to be painting. Now usually she does things like flowers but I really needed her expertise in showing me how to paint. Are there certain brushes you use? What techniques are best for what I want to accomplish? How do you mix multiple colors together and not make it look like a 3 year old did it?
So one afternoon I took my daughter over to my mom's and we all had some quality time painting. I really thought I could get this done in 30 minutes (jokes on me!) but it ended up taking 2 hours to complete.
Let's get this party started!
It all started off with wanting a fairly big canvas to paint on. I headed to Hobby Lobby and scored an amazing deal. I always check their clearance section and happened to find this flower picture for $12!

Did you know that you can paint over previous paintings on a canvas? So if you find a hideous picture on a canvas at a thrift store or somewhere else at an amazing low price, grab that baby up because you can reuse it. It's also great because after its been hanging up in your home for
I got out some plain white paint that I usually use for my walls or trim and went over the canvas one time. I probably should have done two coats just to be safe but I was too excited to get started.


I knew that I wanted blues in my picture. I am trying to incorporate different shades of blue around my home and so far don't I have any on the walls so this was a good place to start.
I actually used a mix of acrylic paint and paint I had leftover from painting my walls. It's a really neat way to use up some of that leftover paint you have from painting a bedroom or bathroom.
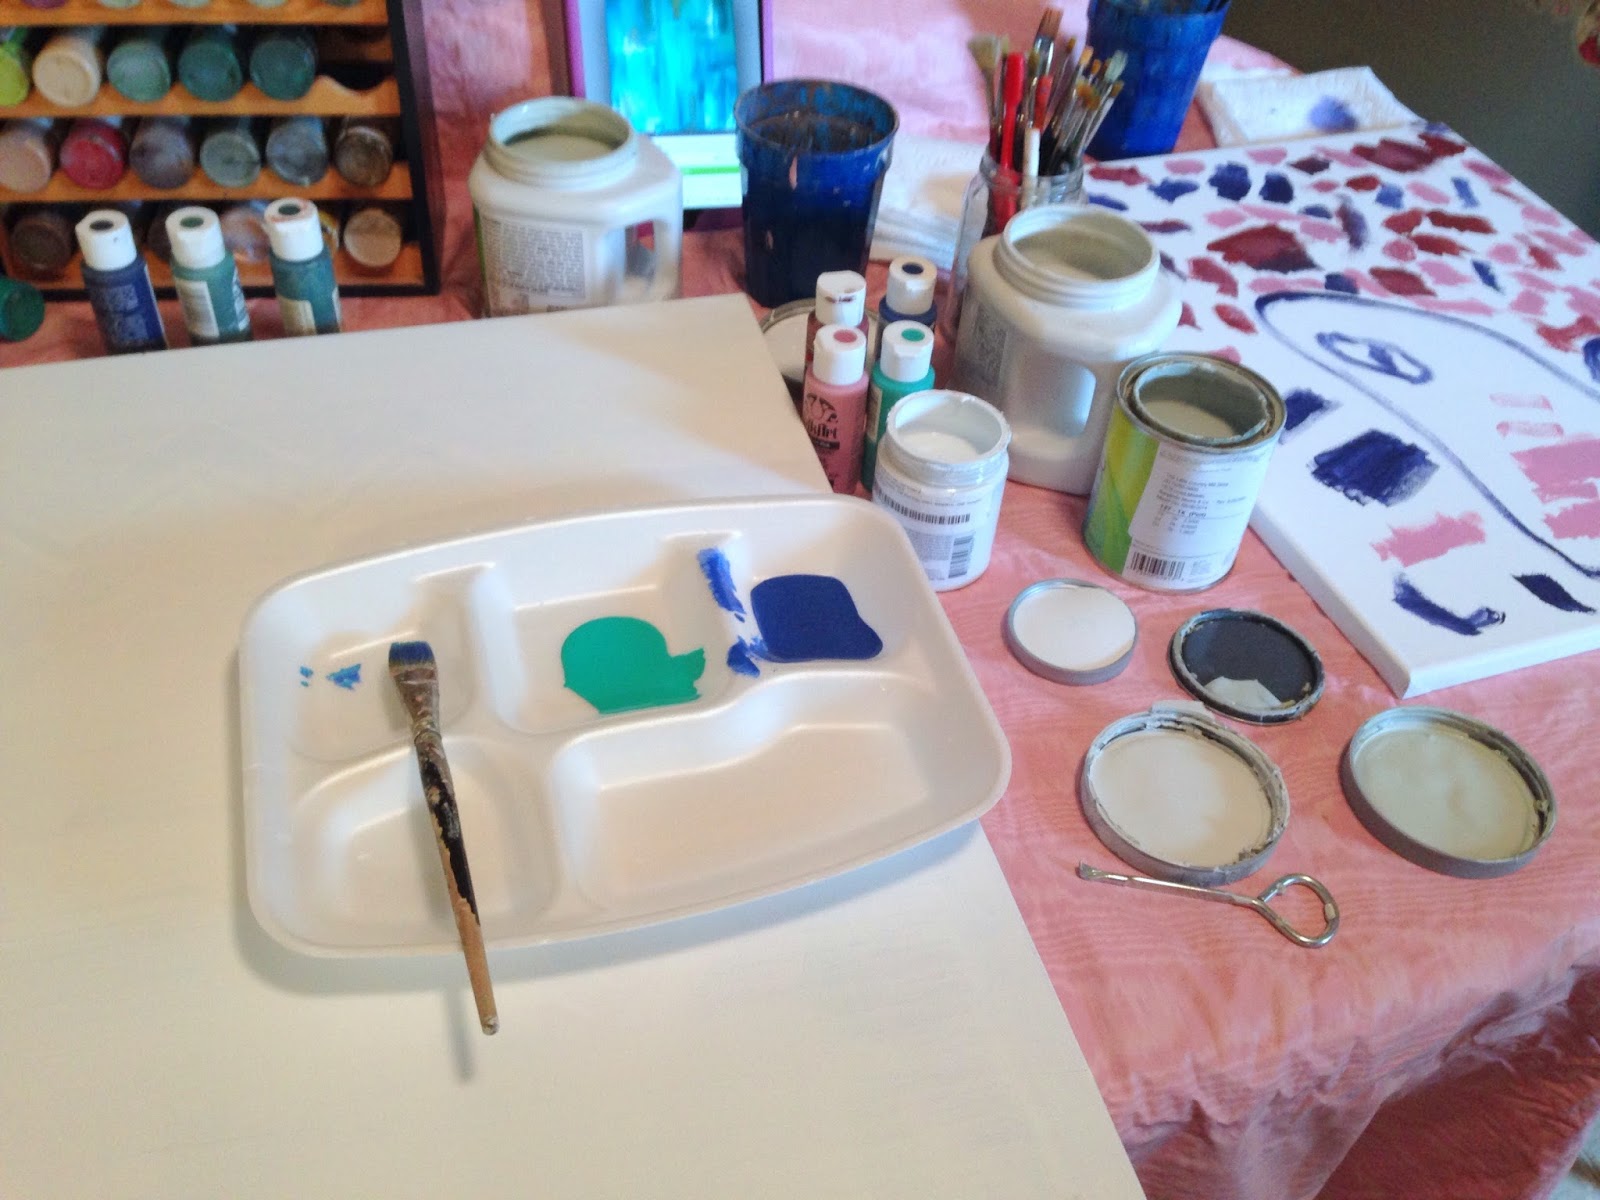

I used several sizes of brushes but the main reason was so that I didn't have to continuously clean them over and over. But for a piece this big I actually preferred the type of paintbrush you use to paint your walls. Nice and big.
I just started swiping on paint, doing one color at a time. The trick is to wet a big paintbrush (wipe off the excess water onto a paper towel) and quickly go over the color so it bleeds out a little. This creates a whispy effect so your lines aren't so harsh.


On occasion we took a blow dryer to the canvas to help a spot dry faster but it really wasn't necessary.
During this whole process I was questioning two things: 1. I wasn't sure if the turquoise color would really match the colors I had in my home. 2. The vision I had in my head had all of the lines in the painting going vertical instead of different directions. I decided I'd take home my piece of art and live with it on the wall for a week to see how I felt. But I was super proud of myself for finishing my first painting!


So after living with it for about 10 days, I decided it looked like a tie dye shirt... wah wah. I also really wanted the lines to be vertical. Luckily for me, Hobby Lobby is having a sale on paints this week so I started my own collection (I was using my mom's acrylic paints before). I grabbed up different shades of blues.
While my kid's were napping I set everything up and started working on recreating my piece.

You can see how the canvas is still wet from using the damp brush.


In reality I should of just painted the whole canvas white again because it took several coats to cover up the turquoise color but I am happy with how it turned out.


I ended up using 4 different colors in the new piece. I toyed around with adding some metallic silver or gold in the future but for now this is how it will stay... at least until I change my mind in a week. :)
This was really easy to create, just a bit time consuming. Remember that you can always start over if you don't like the end result. Keep your brushes a bit damp and it will give you the whispy effect.
Now it's your turn!