
The first step in this process was my inspiration picture. I shared it in this post with my mirror makeover but I'll share it again because it is lovely.

There's this awesome blog called Shanty 2 Chic that is run by two hard working, wood building women. I definitely can't take credit for the inspiration or design of these floating shelves. They have step by step instructions for this project here and I suggest you take a look at them if you want to do something similar.
I will show a few of our steps and some measurements we did a little differently.
It all started with a lot of measurements... (this was only the beginning)

And some blue painter's tape...

And more tape! I recommend doing this because it helps visualize where your shelves will be and if you want to change the height or length.

The process of measuring and figuring out where things should go took about 2 hours.
Then it was off to Lowe's to get our supplies. We spent about $80 and purchased:
* Brad Nails
* Drywall screws
* 2 types of sand paper (I ended up only using the 150 grit)
* Liquid Nails
* Stain (pictured below)
* 3/4 inch sheet of Birch Plywood (4X8)
You will also need 2x4s.
* 1- 8 foot (to do the main shelf)
* 2 - 3 footers to do the two smaller shelves
* 1 - 5 footer or less to make your E's
We already had all of the 2x4s at home but probably cost about $10.

We set up shop in our garage. There was a lot of sawdust!
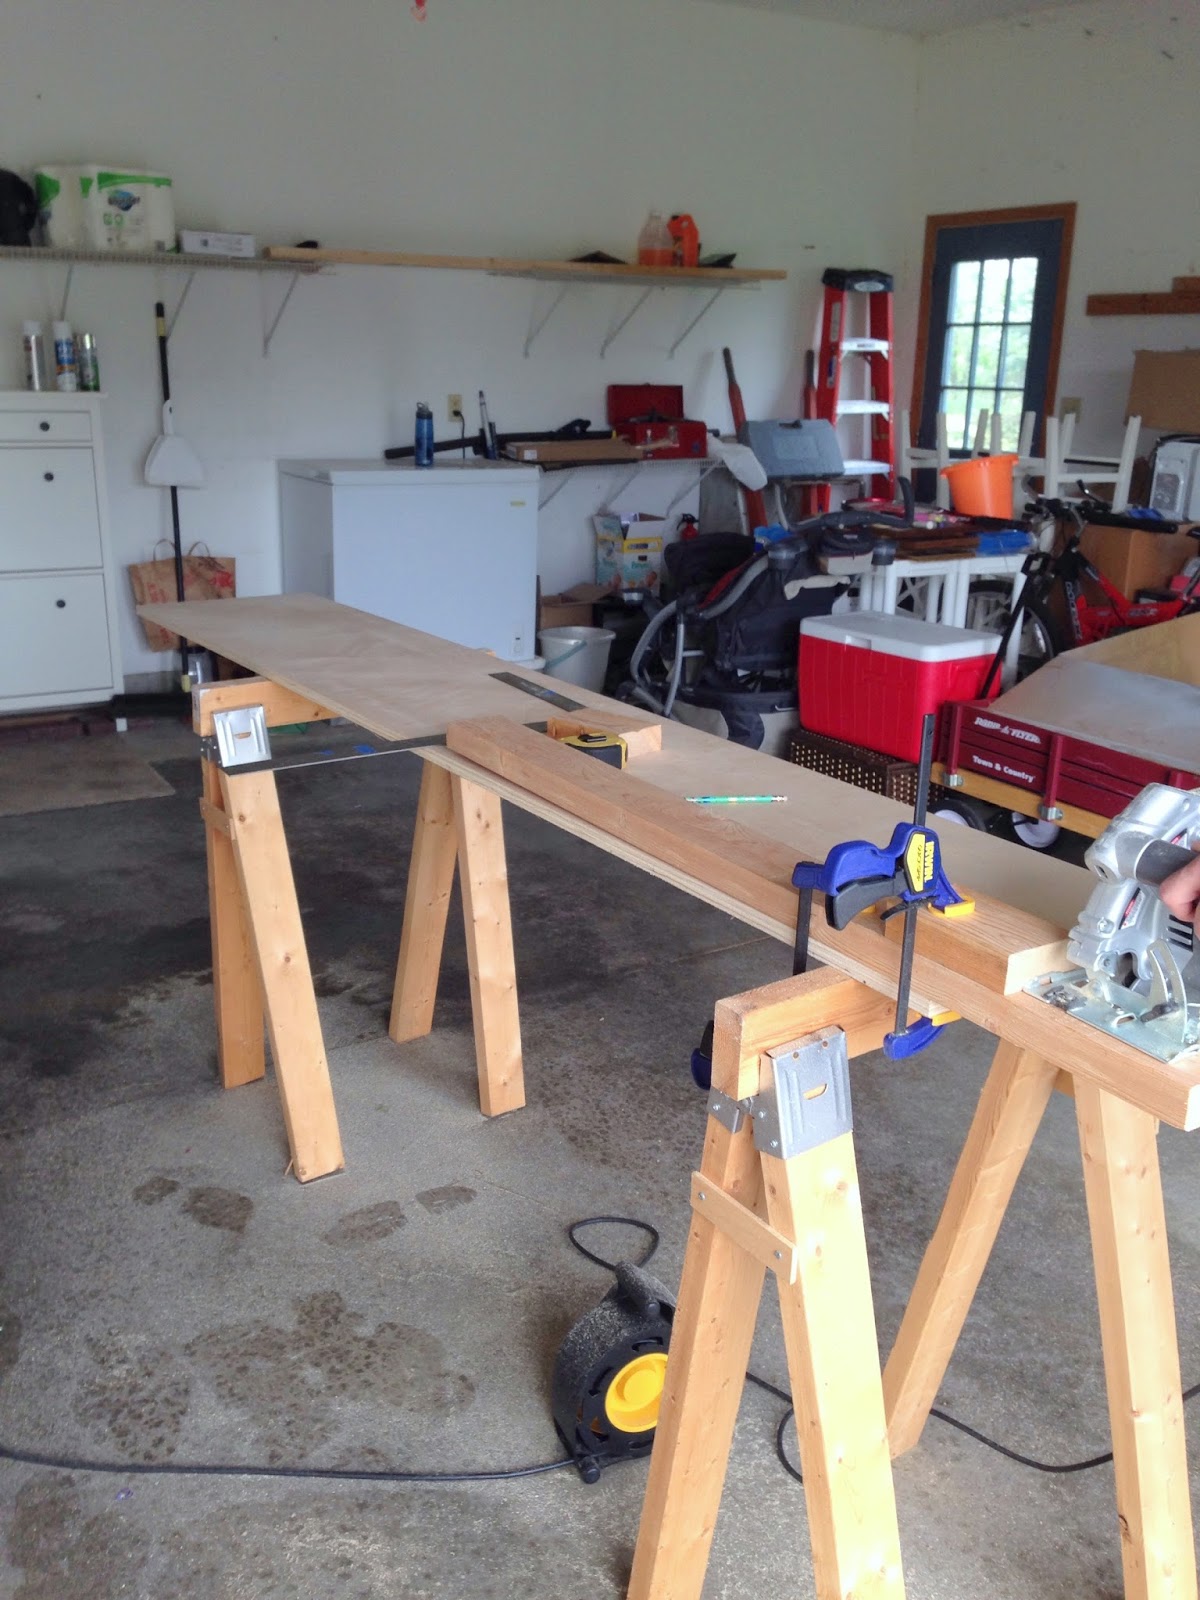
My husband really did a majority of the work, including measuring and re-measuring 50 billion times.
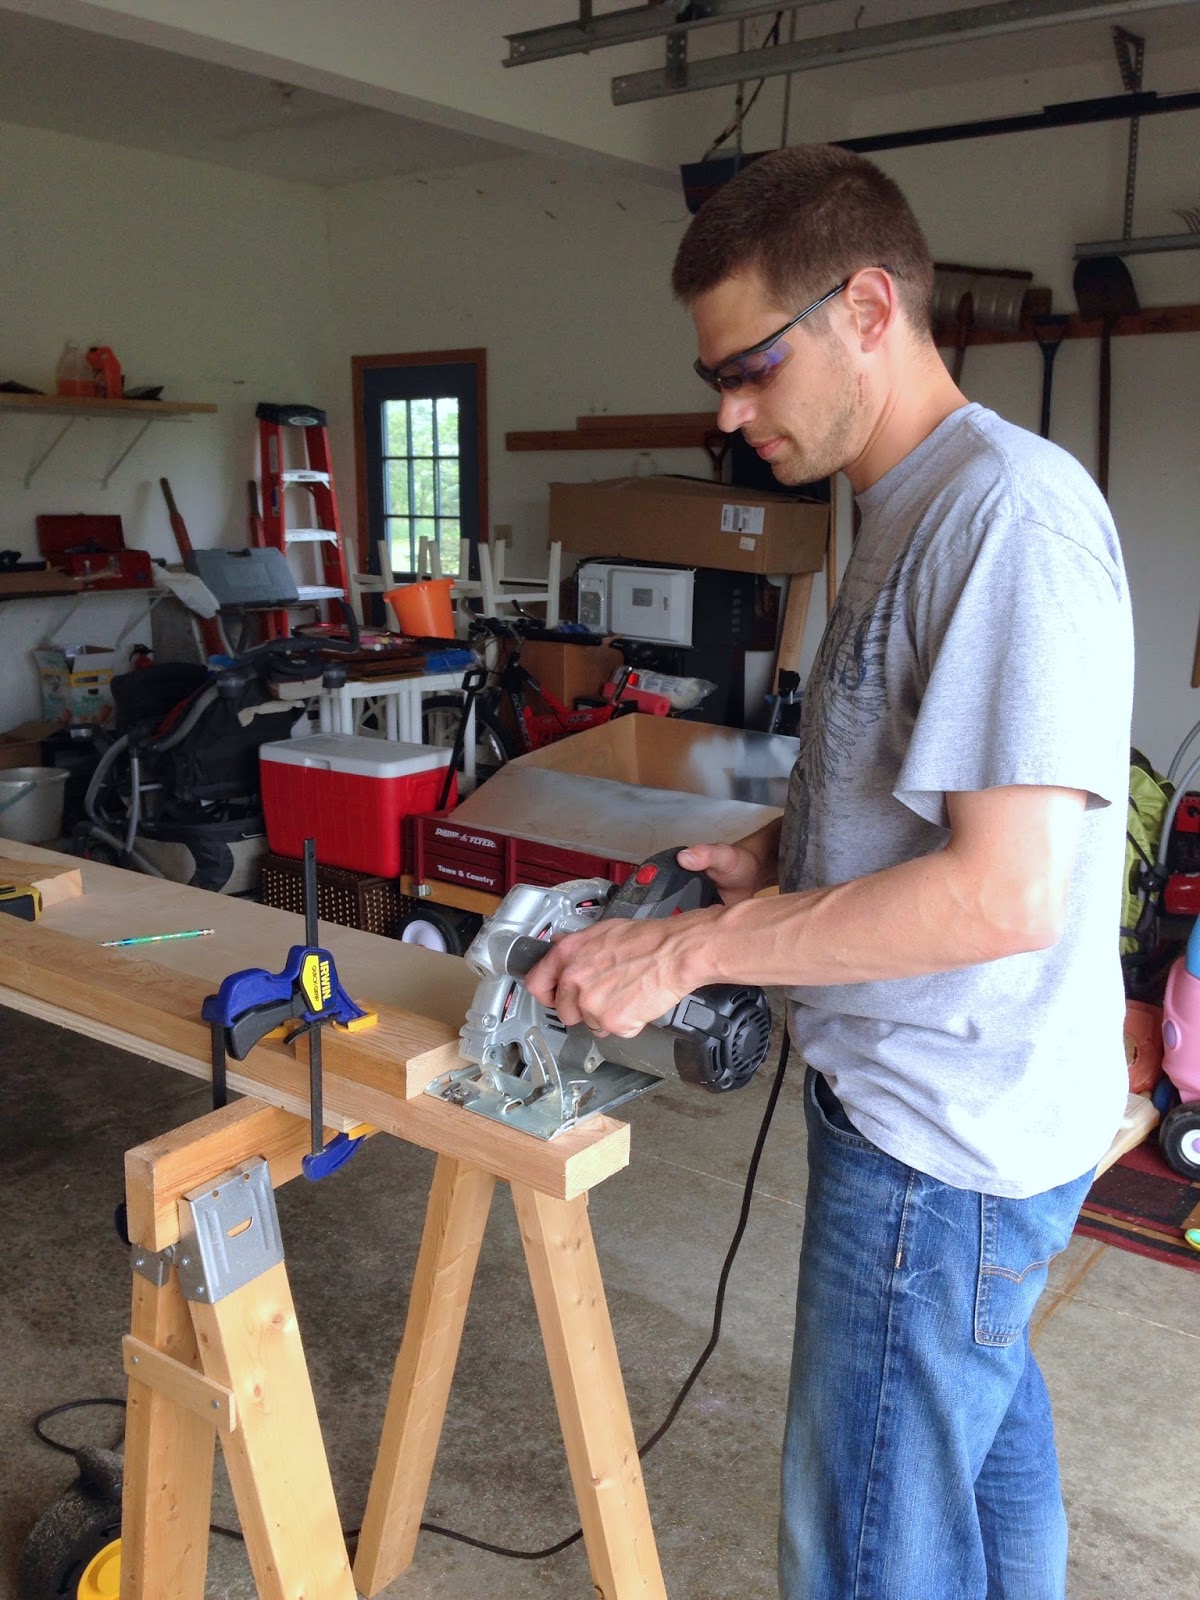
We have been collecting various tools over the years and this is the first project some of them were used so we were super excited. A table saw would have been the most effective tool for this project but we didn't have one at the time so we used a miter saw and a skil saw.

Our first piece was finally done! They call this an "E" in the blog directions.

My husband cut out all the pieces of wood and made sure everything fit perfectly before we started work inside. This definitely took the longest amount of time. I'm guessing about 10 hours. Once we could start work on the wall, the first step was to attach all of our "E's."

That level was our best friend! I think I have a sixth sense and can tell when a picture, shelf, cabinet, etc.. isn't straight. It drives me crazy if it's even slightly off.

Once all of the "E's" were up, it was time for the next step. We applied Liquid Nails to the insides of the boards.

We then used clamps to keep the boards in place while they dried. Most of them we kept there overnight.

Then secured them with a brad nailer. I got this for my husband probably nine months ago and this was the first time he used it. You can use screws instead but I wanted the smallest holes possible.


Now it's my turn to take over! I got this stain from Lowe's. Minwax in the color Special Walnut. I wanted a light color of stain because our couch is a dark gray and I didn't want the room to feel too gloomy. Although I was really questioning this color up until the second I put it on. This was my first time using stain so I wasn't sure what to expect.

I lightly sanded the wood with 150 grit sand paper and then put Frog Tape all around the edges.

I covered the floor with drop cloths just incase any stain were to fall.

I used one of my husband's old t-shirts and cut it up into several pieces. You can also apply stain with a brush but more often than not I've seen people use t-shirts. I also had clean t-shirts because you'll need to wipe off the excess stain soon after you put that first layer on. If you want a darker stain, leave it on longer before wiping off. I wiped it off right away because I wanted a light color and figured I could just do more coats if I really wanted it darker. Better to be safe than sorry I thought!

It went on really easy with the t-shirt.


I love how the grain in the wood shows through. It is beautiful. I only did one coat of stain and I love the way it turned out. I decided I could always add more layers of stain (to make it darker) down the road if I really wanted. I let the stain dry for 8 hours before I set anything on it.
The directions I followed did not say anything about a protective coat on top of the stain so I did not do one. However, I have heard that it may protect the wood in the long run to do a coat of poly on top. Completely up to you. I may do one down the road if I feel the wood is warping but for now I love the natural beauty of the wood.
Now it's time to decorate these shelves!! I used a lot of pieces I already had stored away in the basement. They were just waiting for these shelves, I know it! I am still in the process of decorating and one shelf actually still has nothing on it. I keep rearranging items when I find a new piece or decide to take something off. Hopefully soon they will be complete and I will put up a post about where I purchased these pieces.


I am still working on adding in some color because I really think it will make these shelves shine. These shelves bring in so much character and I am in love with them.

No comments:
Post a Comment